Customize Your Homemade Ice Pops: Simple Fruit Recipes for All
There's nothing quite like a refreshing, icy treat to cool down on a warm day. But what if that treat could be bursting with natural fruit flavor, free from artificial additives, and entirely tailored to your taste? Enter homemade ice pops – the ultimate customizable summer delight that’s quickly becoming a family favorite. Forget the sugar-laden, artificially colored options from the store; crafting your own fruit-filled popsicles at home is easier, healthier, and far more rewarding than you might imagine. Whether you're a busy parent looking for a nutritious snack for the kids or an adult craving a guilt-free sweet escape, these customizable frozen delights are your ticket to a delicious and wholesome experience.
The Irresistible Appeal of Homemade Ice Pops
Why should you jump on the homemade ice pops bandwagon? The reasons are as plentiful as the fruit you can pack into them:
- Uncompromised Health: The biggest draw is undoubtedly the health factor. When you make them yourself, you control every ingredient. This means no mystery sugars, artificial dyes, or preservatives. Just pure, unadulterated fruit goodness. For more on this, check out our article on No Artificial Stuff: Healthy Fruit Ice Pops You Can Make At Home.
- Endless Customization: From vibrant berry blends to tropical explosions and even sneaky veggie additions, the possibilities are limited only by your imagination. You can cater to picky eaters, dietary restrictions (like dairy-free or low-sugar), or specific flavor cravings.
- Budget-Friendly: Store-bought popsicles can add up, especially if you have a family of eager snackers. Making them at home often utilizes fresh or frozen fruit you already have on hand, making it a surprisingly economical choice.
- Fun for All Ages: Involving kids in the creation process turns snack time into a fun, educational activity. They’re more likely to enjoy a healthy treat they helped make!
- Nutrient Powerhouse: Depending on your fruit choices, these pops can be packed with vitamins, antioxidants, and fiber. They're a fantastic way to "sneak" extra nutrients into your diet, especially for those who shy away from eating whole fruits.
Whether you call them popsicles, freezies, or simply Easy Homemade Fruit Ice Pops: Healthy Summer Treats for Kids & Adults, the concept remains the same: a simple, refreshing, and utterly delightful frozen treat.
Your Essential Toolkit for Ice Pop Creation
The good news is, you don't need a professional kitchen or a lineup of obscure gadgets to start your homemade ice pops journey. A few basic items are all it takes:
- Blender: This is your primary workhorse. Any standard blender will do the trick, pureeing your fruits and liquids into a smooth mixture.
- Popsicle Molds: These come in various shapes, sizes, and materials.
- Traditional Plastic/Silicone Molds: Durable, reusable, and often come with built-in stick holders. Silicone molds are particularly easy for de-molding.
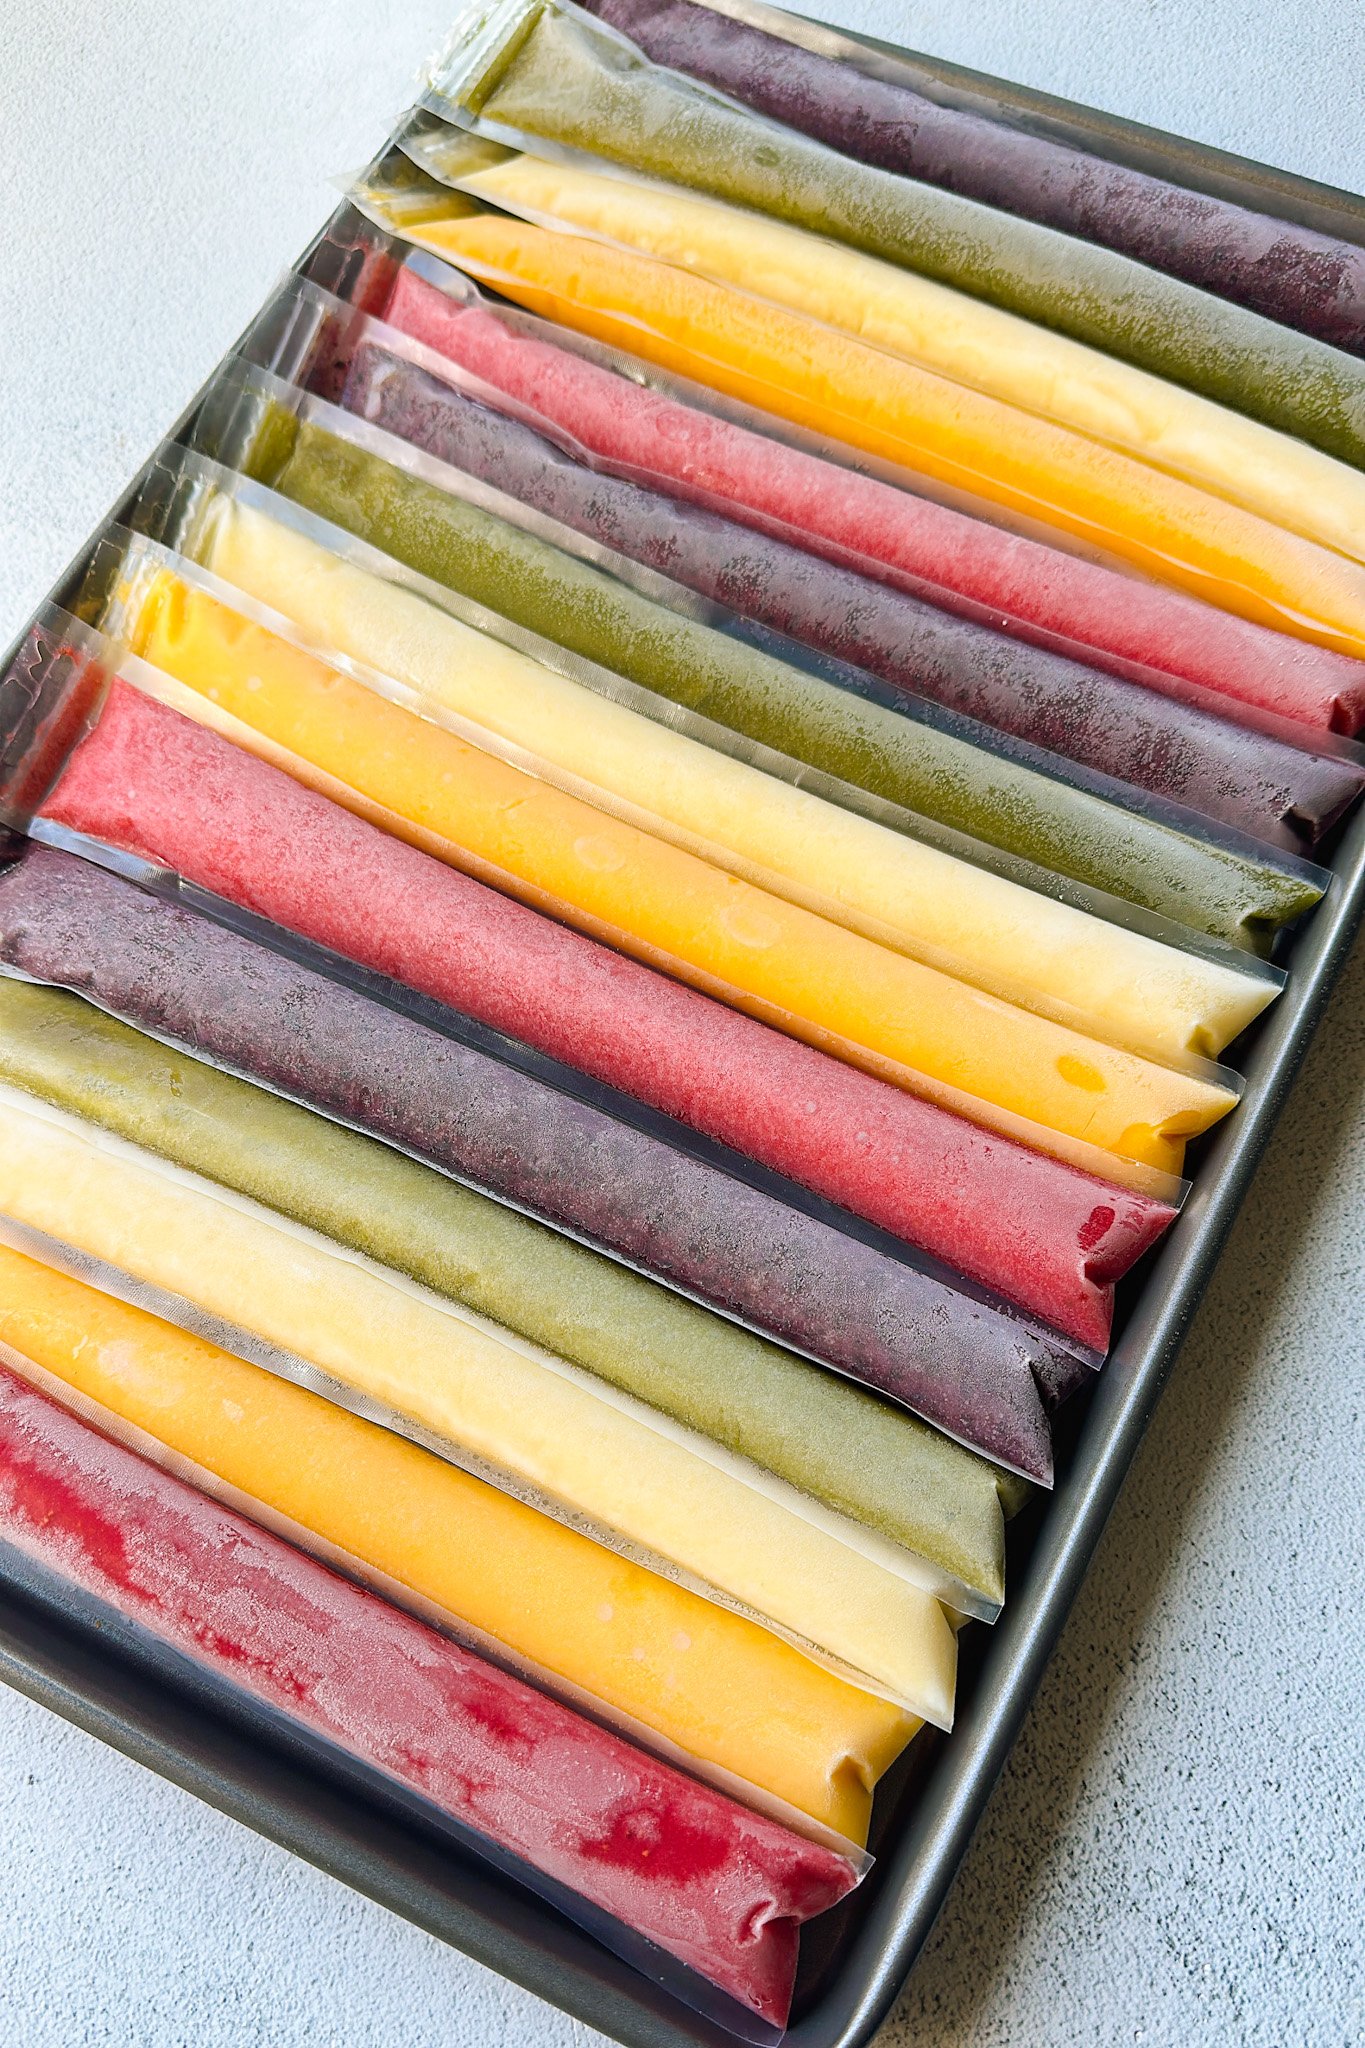
- Ice Pop Pouches: Great for a more traditional "freezie" experience, often preferred by kids. They take up less freezer space.
- Small Paper Cups & Wooden Sticks: A budget-friendly, single-use option. Simply pour your mixture into the cups, cover with foil (poke a hole for the stick), and freeze.
- Popsicle Sticks: If your molds don't include them, ensure you have a supply of wooden sticks.
- Funnel: While not strictly essential, a funnel makes pouring your liquid mixture into molds or pouches much neater and prevents spills.
As for ingredients, focus on fresh or frozen fruits, a liquid base (water, fruit juice, coconut water, or plant-based milk), and optional natural sweeteners (a touch of honey, maple syrup, or agave) if your fruit isn't sweet enough. Sometimes, a creamy element like yogurt or coconut milk can elevate the texture.
Unleash Your Creativity: Exciting Flavor Combinations
This is where the magic truly happens! The reference context offers some fantastic starting points, but let's dive deeper and inspire even more vibrant ideas for your homemade ice pops.
Tropical Escapes
- Sunny Mango-Pineapple Delight: Building on the "tropical fruit punch" idea, combine ripe mango, fresh or frozen pineapple chunks, and a splash of orange juice or coconut water. The result is sweet, tangy, and incredibly hydrating – like a vacation on a stick. Add a tiny pinch of grated ginger for an extra zing!
- Creamy Coconut-Lime: Blend ripe banana, chunks of avocado (yes, really – it adds creaminess!), coconut milk, and a generous squeeze of fresh lime juice. This offers a rich, smooth texture with a bright, zesty finish.
Berry Blasts & Antioxidant Boosts
- Deep Berry Medley: The reference's blend of cherries, strawberries, banana, and pomegranate juice is a winner. For a slightly tarter kick, swap some pomegranate juice for cranberry juice. Add a handful of raspberries for extra tartness and fiber.
- Blueberry-Lavender Dream: Combine fresh or frozen blueberries, a touch of maple syrup, and a *tiny* amount of food-grade dried lavender (steeped in hot water and strained) for a sophisticated, calming flavor profile.
Sneaky Veggies & Wellness Wonders
- Green Power Pop: Don't fear the greens! The combination of spinach, pineapple, mango, and banana is brilliant. The vibrant fruit completely masks the spinach flavor, leaving you with a delicious, nutrient-dense pop. Kale can also be used, though spinach is generally milder.
- Soothing Elderberry-Ginger: Inspired by the sore throat remedy, blend elderberry syrup (ensure it's food-grade), a slice of fresh ginger, lemon juice, and a touch of honey. This can be a fantastic immune-boosting treat, especially during colder months or allergy season.
Creamy & Indulgent (Yet Healthy)
- Peaches 'n' Cream Dream: Bananas, peaches, and coconut milk create a velvety smooth pop. To get that beautiful blue hue mentioned, try adding a tiny amount of butterfly pea flower powder – it's natural and has no taste!
- Strawberry-Yogurt Swirl: Layer a strawberry puree (just blended strawberries) with plain Greek yogurt (sweetened slightly with honey or vanilla extract) for a beautifully marbled, protein-packed treat.
Pro Tip for Texture: For smoother pops, ensure all ingredients are well-blended. For a chunkier pop, you can blend most ingredients and then stir in small pieces of fruit before pouring into molds.
The Simple Steps to Perfect Homemade Ice Pops
Making homemade ice pops is wonderfully straightforward. Follow these steps for consistently delicious results:
- Gather Your Ingredients and Equipment: Have your chosen fruits, liquids, sweetener, blender, molds, and funnel ready. Wash and chop any fresh fruit as needed.
- Blend It Up: Add all your desired ingredients to the blender. Start with less liquid and gradually add more until you reach your preferred consistency. For thinner, icier pops, use more water or juice. For creamier, denser pops, opt for more fruit, yogurt, or coconut milk. Blend until completely smooth. Taste and adjust sweetener if necessary before freezing!
- Pour Carefully: Use your funnel to pour the mixture into your chosen molds. Do not overfill! Leave a little space at the top (about 1/4 inch) as the mixture will expand slightly as it freezes.
- Insert Sticks: If your molds have integrated stick holders, insert them now. If using paper cups or molds without holders, you can wait about an hour for the mixture to partially freeze before inserting the sticks. This helps them stand upright and centered.
- Freeze Until Solid: Place the filled molds in the freezer on a level surface. Freezing typically takes 4-6 hours, but for best results, leaving them overnight ensures they are completely solid.
- Enjoy and Store: To release a frozen pop from a traditional mold, run the mold under warm water for 10-20 seconds. This loosens the edges without melting the pop. Once removed, enjoy immediately! For storage, you can individually wrap them in parchment paper or place them in an airtight freezer bag for up to 2-3 weeks (all-fruit pops often last longer).
Beyond the Basics: Advanced Tips for Ice Pop Mastery
- Layering for Visual Appeal: Create stunning multi-layered pops by freezing one layer for 30-60 minutes until firm, then adding the next. This requires a bit more patience but yields beautiful results.
- Adding Whole Fruit Pieces: For an extra burst of texture and flavor, drop in small whole berries, thin fruit slices, or mint leaves into the molds before pouring the blended mixture.
- Natural Sweeteners with Care: While fruit provides natural sweetness, if your blend needs a boost, consider dates (blended with the fruit), honey, maple syrup, or stevia. Remember that sugar lowers the freezing point, so too much can make pops softer.
- Troubleshooting Icy Pops: If your pops turn out too hard and icy, it often means there's too much water and not enough natural sugar or fat. Adding a creamier element (banana, avocado, yogurt, coconut milk) or slightly more natural sweetener can help create a smoother, less icy texture.
- Beyond the Snack: Don't limit your homemade ice pops to just a snack. Blend them into smoothies, melt them down for a quick fruit drink, or even use them as a healthy dessert topping.
Creating your own homemade ice pops is a delightful journey into healthy eating and culinary creativity. With simple ingredients and a little imagination, you can whip up an endless variety of refreshing, nutritious, and utterly delicious treats that will be loved by everyone. So, gather your fruits, fire up your blender, and get ready to customize your way to the coolest summer yet!
