No Artificial Stuff: Healthy Fruit Ice Pops You Can Make At Home
In a world brimming with processed snacks, the quest for truly healthy, refreshing treats can feel like a challenge. But what if we told you the answer to delightful, nutritious, and absolutely irresistible snacks for both kids and adults is as simple as your own kitchen? Enter the wonderful world of **homemade ice pops**. Forget the artificially flavored, sugar-laden versions of your childhood; we’re talking about vibrant, real-fruit creations that burst with natural goodness and absolutely no artificial stuff.
Making your own fruit ice pops isn't just a fun summer activity; it's a commitment to healthier eating, a creative outlet, and a delicious way to beat the heat. Whether you're a parent looking for wholesome alternatives for your children or an adult seeking a guilt-free indulgence, these customizable frozen treats are the perfect solution. They're ridiculously easy to make, naturally sweetened by the fruit itself, and a fantastic way to sneak in extra nutrients. So, let's dive into how you can transform simple ingredients into frozen masterpieces straight from your freezer.
Why Choose Homemade Ice Pops Over Store-Bought?
The appeal of **homemade ice pops** goes far beyond just taste; it’s about control, health, and endless possibilities. When you grab a pack of ice pops from the grocery store, you often find a laundry list of ingredients: high-fructose corn syrup, artificial colors and flavors, preservatives, and questionable stabilizers. These additives can contribute to sugar spikes, allergic reactions, and a general feeling of unease about what you're consuming.
*
Purity of Ingredients: With homemade versions, you know exactly what goes in. Real fruit, a splash of juice or water, maybe a touch of natural sweetener if needed – that's it! This purity ensures a treat free from artificial dyes, unhealthy sugars, and synthetic flavors.
*
Nutritional Boost: By using whole fruits and even vegetables, your ice pops become tiny powerhouses of vitamins, minerals, and antioxidants. It's a clever way to encourage picky eaters to consume more fruit without them even realizing it.
*
Cost-Effective: Making your own ice pops is significantly cheaper in the long run than buying pre-made varieties. You can utilize seasonal fruits or even those ripe bananas sitting on your counter, minimizing food waste.
*
Dietary Customization: Got allergies or specific dietary needs? Homemade ice pops are a dream. Easily make them vegan, gluten-free, dairy-free, or low-sugar to suit any requirement. You're the chef, so you control every aspect.
*
Unleash Creativity: The joy of experimentation is a huge draw. From single-fruit simplicity to complex layered designs, your kitchen becomes a flavor laboratory. This creative freedom makes each batch a unique culinary adventure.
Essential Gear for Your Homemade Ice Pop Adventure
You might envision needing a specialized ice pop factory, but the beauty of making these healthy treats is their simplicity. You don't need fancy gadgets or hard-to-find ingredients. Your basic kitchen arsenal is likely all you need to get started.
Here’s your straightforward supply list:
*
A Reliable Blender: This is your most crucial tool. A good blender will make quick work of turning fresh or frozen fruit into a smooth, pourable liquid, ensuring a creamy, consistent texture for your pops.
*
Ice Pop Molds: These come in various forms, and your choice often depends on freezer space and personal preference.
*
Traditional Plastic Molds: Often come with reusable sticks and lids, making them a classic choice. They’re durable and easy to clean.
*
Silicone Molds: Flexible and easy to unmold, silicone options are popular for their convenience. They often come in fun shapes and sizes.
*
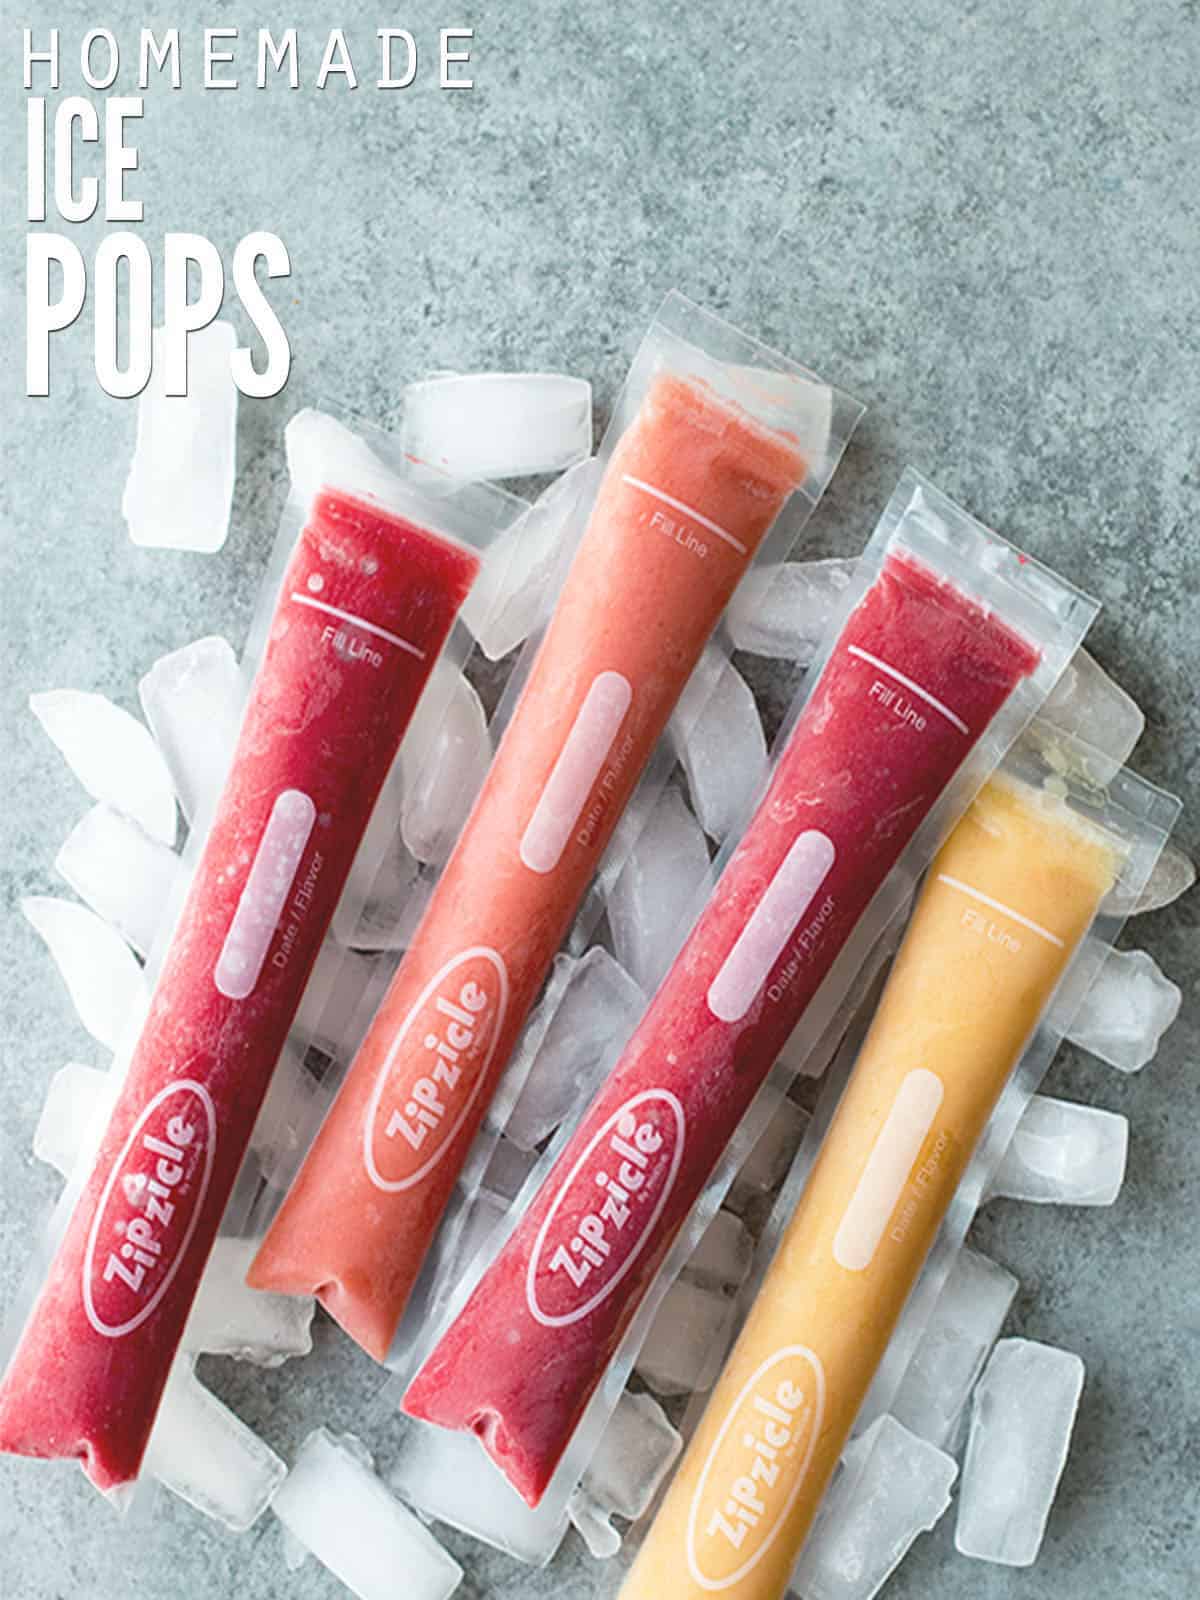
Ice Pop Pouches: If you grew up calling them "freezies," these clear, zip-top pouches are a fantastic, space-saving alternative, especially for on-the-go enjoyment. They take up minimal freezer space.
*
Paper Cups and Sticks: For a super budget-friendly and disposable option, small paper cups with wooden craft sticks work wonderfully. Just peel the paper away when frozen.
*
A Funnel: A small kitchen funnel is invaluable for pouring your fruit mixture neatly into molds or pouches, preventing spills and sticky messes.
With these few items, you're fully equipped to embark on your healthy ice pop journey, turning simple fruit into refreshing, artificial-free treats.
Crafting Your Perfect Homemade Ice Pops: A Simple Guide
The process of making **homemade ice pops** is surprisingly straightforward. Think of it as a three-step dance: blend, pour, freeze. But within these steps, there are opportunities to perfect your technique and unleash your inner culinary artist.
1.
Pick Your "Color" and Ingredients:
Start by selecting your main fruit or fruit combination. Think vibrant: deep red strawberries, sunny yellow mangoes, or lush green kiwis. You can use fresh fruit, which offers peak flavor, or frozen fruit, which can create an even creamier consistency without the need for ice.
*
Fruit Combinations: Don't be afraid to mix and match! Strawberries and bananas, pineapple and coconut, or a tropical blend of mango, pineapple, and a splash of orange juice are all fantastic starting points.
*
Adding Liquid: Most fruits need a little liquid to blend smoothly. Water, coconut water, fruit juice (100% natural, no added sugar), or even a plant-based milk like coconut or almond milk can be used. If you prefer a creamier pop, a spoonful of Greek yogurt or full-fat coconut milk can work wonders.
*
Sweetener (Optional): Ripe fruit is often sweet enough on its own! However, if your fruit is tart or you prefer a sweeter pop, consider natural options like a drizzle of honey, maple syrup, agave, or a few Medjool dates. Start with a small amount and taste as you go.
2.
Blend It Up:
Combine your chosen fruits, liquid, and any optional sweeteners or creamy additions in your blender. Blend until the mixture is completely smooth. If you like a chunkier pop, you can blend for less time, leaving small pieces of fruit for added texture. For those who enjoy a super smooth texture, blend until no fruit fibers remain. This step is also where you can get creative with sneaky additions, like a handful of spinach (the fruit masks the flavor beautifully!) or a dash of ginger for a zesty kick.
3.
Pour Carefully and Freeze:
Using your funnel, carefully pour the blended mixture into your chosen ice pop molds or pouches. It’s crucial not to overfill them; leave a little space at the top (about 1/4 to 1/2 inch) to allow for expansion as the mixture freezes. Insert your sticks (if using) and then transfer the molds to the freezer.
*
Freezing Time: Freezing time varies depending on the size of your molds and the ingredients used, but generally, it takes anywhere from 4-8 hours. For best results, plan to freeze them overnight.
*
Unmolding Tips: If your pops are stubborn, run the outside of the mold under warm water for a few seconds. This helps release the pop without melting it.
*
Storage: Once completely frozen, you can remove them from the molds and store them individually in freezer-safe bags or containers. All-fruit ice pops typically last well for several weeks in the freezer.
Flavor Combinations & Creative Twists for Your Homemade Ice Pops
The true magic of **homemade ice pops** lies in the endless array of flavor combinations you can create. Let the seasons guide you, or simply use what you have on hand. Here are some inspiring ideas to get you started, drawing from both classic favorites and innovative twists:
*
Tropical Sunrise Pops: Embrace vacation vibes with a blend of sweet mango, tangy pineapple, and a splash of fresh orange juice. A water or coconut water base keeps them light and hydrating, making them taste like a refreshing tropical punch on a stick.
*
Berry Burst Bliss: For an antioxidant powerhouse, combine juicy strawberries, tart cherries, a ripe banana for creaminess, and a touch of pomegranate juice. This combination creates a beautiful deep red pop that’s bursting with natural sweetness and a slightly tart finish.
*
Creamy Dream Peach & Banana: A truly dreamy concoction featuring ripe bananas, sweet peaches, and rich coconut milk. This blend yields a velvety smooth, naturally sweet pop that feels incredibly indulgent, offering a dairy-free creamy treat.
*
Green Goddess Goodness: Don't let the color scare you! Blend fresh spinach with sweet pineapple, mango, and banana. The powerful fruit flavors completely mask the spinach, leaving you with a vibrant green pop that delivers a sneaky dose of greens without compromising on taste.
*
Immunity Boosters: During cold and flu season, or whenever you need a pick-me-up, create pops with ingredients known for their immune-supporting properties. Think elderberry syrup, echinacea tea, fresh ginger, lemon juice, and a touch of honey. These soothing pops are perfect for sore throats and offer a comforting chill.
For even more diverse flavor combinations and tips on making these healthy summer treats, explore our guides on
Easy Homemade Fruit Ice Pops: Healthy Summer Treats for Kids & Adults and learn how to truly
Customize Your Homemade Ice Pops: Simple Fruit Recipes for All. Don't be afraid to experiment with layers of different fruit purees for a beautiful, rainbow effect, or add small pieces of whole fruit to the molds before freezing for an extra textural surprise. The possibilities are truly boundless!
Beyond the Basics: Advanced Tips for Homemade Ice Pop Enthusiasts
Once you've mastered the fundamental steps, you might want to elevate your homemade ice pop game. Here are some pro tips to take your frozen treats to the next level:
*
Layer for Visual Appeal: Create stunning multi-layered pops by blending different fruit purees and freezing each layer partially (about 30-60 minutes) before adding the next. This requires a little patience but results in an impressive treat.
*
Add Texture: Don't just stick to smooth purees. Swirl in yogurt, sprinkle in chia seeds for a nutritional boost, or add small diced pieces of fruit (like berries or kiwi) directly into the molds for added chewiness.
*
Utilize Leftovers: Have a leftover smoothie, juice, or even a fruit salad that's about to turn? Don't waste it! Pour it into your ice pop molds for a quick, zero-effort treat.
*
Flavor Enhancers: A squeeze of lime or lemon juice can brighten flavors and add a refreshing zest. A pinch of fresh mint or basil can introduce an unexpected herbaceous note, especially with berry or melon pops.
*
Natural Sweetener Alternatives: If your fruit isn't sweet enough, beyond honey or maple syrup, consider blending in a few dates, a touch of stevia, or even a splash of fruit concentrate. Always taste your mixture before freezing, as sweetness levels can dull slightly when frozen.
Conclusion
There's undeniable satisfaction in creating something delicious and healthy from scratch, and **homemade ice pops** fit that bill perfectly. By ditching the artificial colors, flavors, and excessive sugars found in many commercial options, you're not just making a refreshing treat; you're making a conscious choice for better health. Whether it's a vibrant tropical blend, a creamy berry delight, or a sneaky green concoction, these real fruit ice pops are proof that healthy can be incredibly delicious and easy to achieve. So, gather your ingredients, fire up your blender, and get ready to enjoy a summer (or any season!) filled with guilt-free, refreshing, and utterly delightful frozen treats you made yourself. Your taste buds and your body will thank you!